VA Scrappers November 2009
Posted By drsao on November 28, 2009
Even though I was only able to enjoy the VA Scrappers for a short time today – I seemed to pack in a lot of giggles – and pictures – in that short time that I was there!!!
There are always fun things for show and tell – first look at what Patsy did! I love the border that she created….that black fabric really catches your eye and ties it all together!!! I really like this quilt!
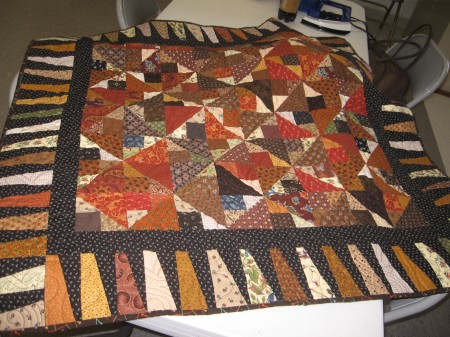
Patsy's Creation
The fabric that she used for the back is SO CUTE – love the pins of many colors – and the label is really dear!
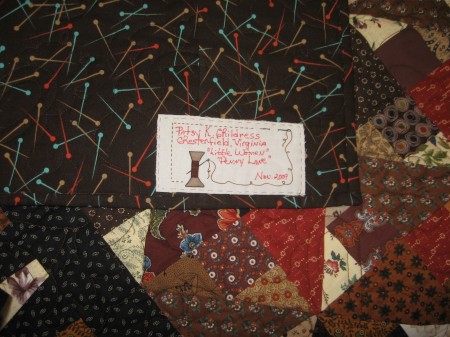
Back of Patsy's Quilt
Carmen got a DOORBUSTER gift for herself for Christmas at JoAnn’s this morning! It is a case for a cutting mat and ruler – and not only that, it has the mat AND ruler inside!
And look what Sheddy got as the DOORBUSTER gift at JoAnn’s. Looks like there was a lot of Black Friday quilters out shopping and having fun!
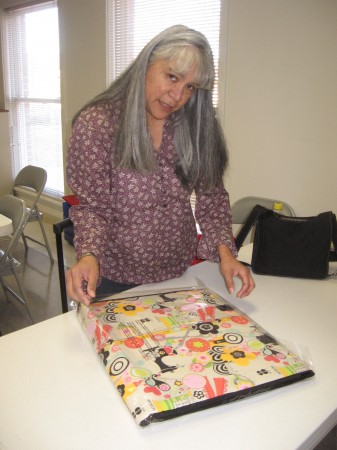
Carmen's Christmas Present
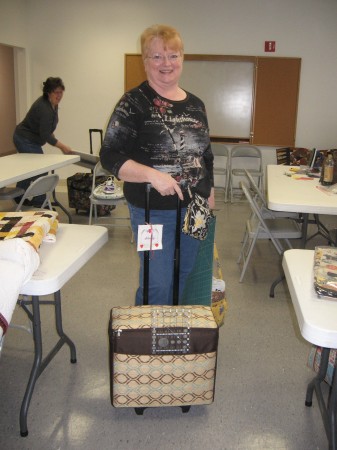
Sheddy's Roller Bag
And while we are on the subject of Sheddy – look at the darling snowman that she made. LOVE IT – especially the green nose.
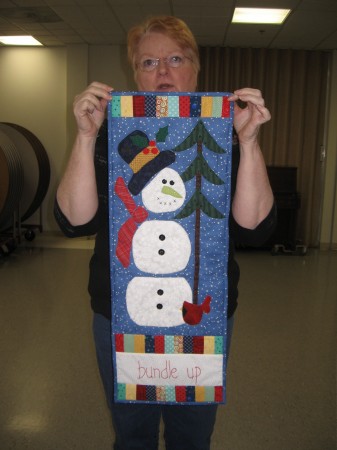
Sheddy's Snowman
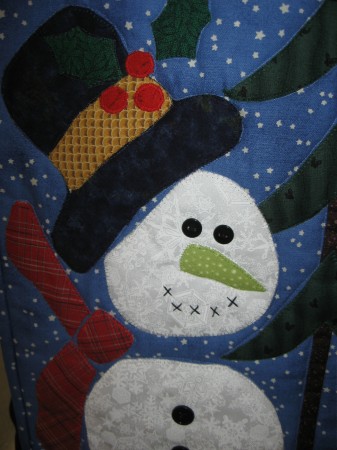
PICKLE NOSE
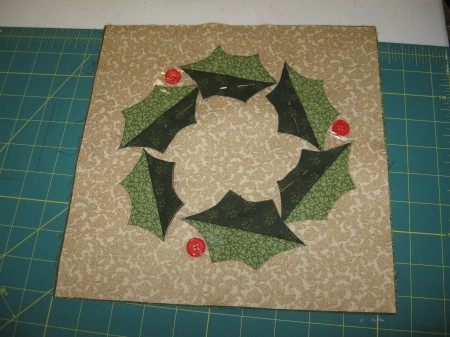
Sheddy's Retreat mini-thing
Draw a wreath of leaves on the background
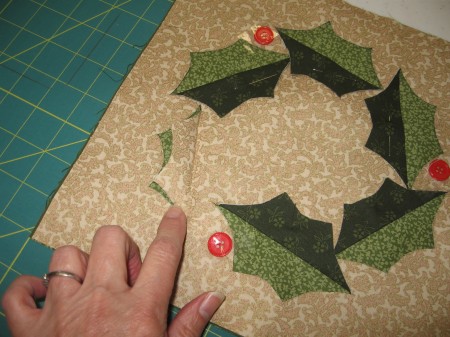
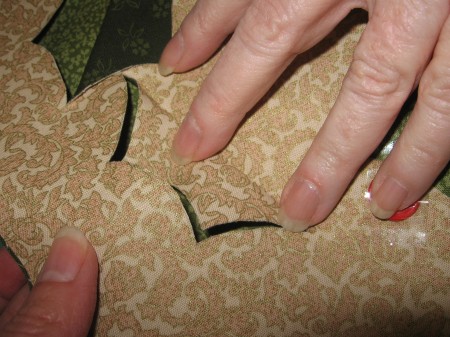
Cut and FOLD BACK the DARK GREEN FABRIC part of the leaf
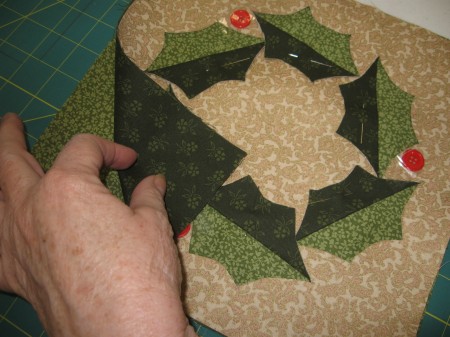
Green Leaf Sides are FOLDED back when cut
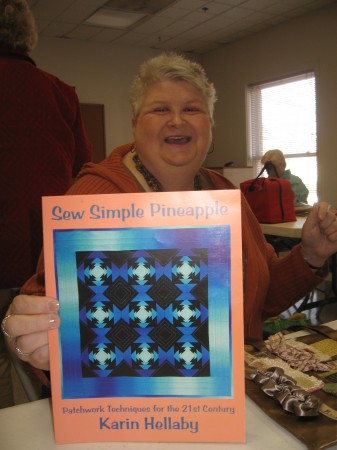
SEW SIMPLE PINEAPPLE Book
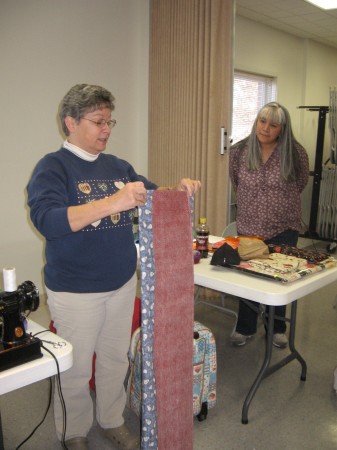
Making a Table Scarf
Fold the ends in so that they form a triangle at the end – sew on the wrong side, trim, and turn right side out and you have a table scarf. Embellish if you want!
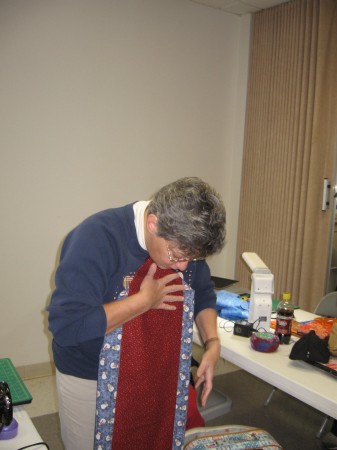
See the point in the middle when both corners are folded in to make a triangle end?
Here are a few more random pictures – – of our fun sewing time……
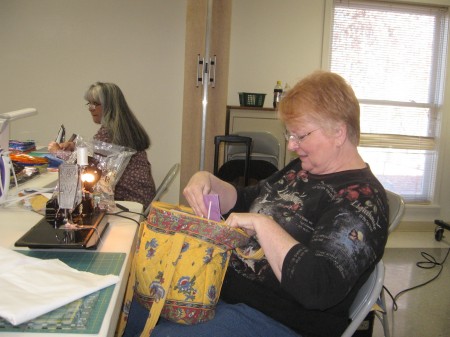
TWO HOURS and Sheddy is almost ready to sew!
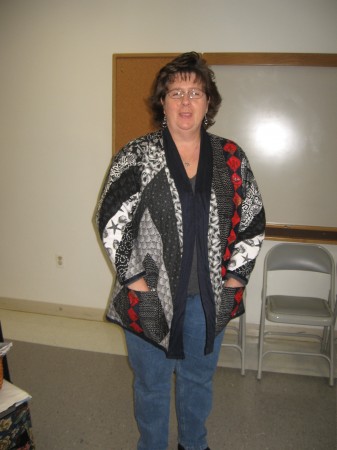
Beautiful coat!!
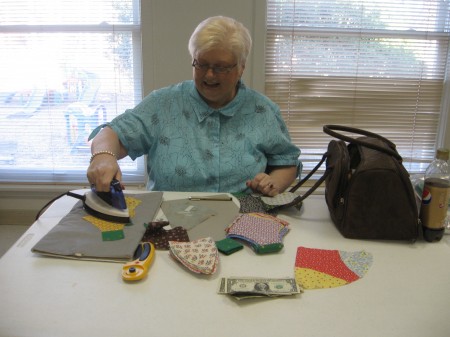
Patsy is working on her THIRTIES SOMETHING blocks
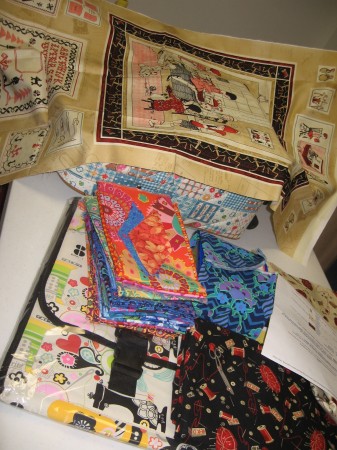
Carmen has some beautiful fabrics!
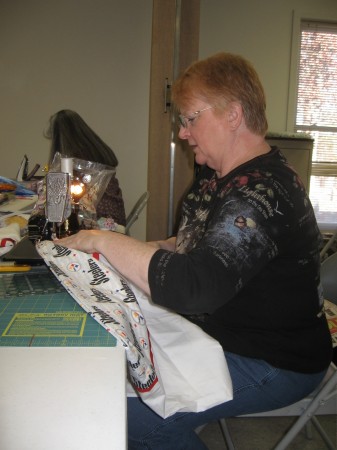
Sheddy is finally SEWING - as I was leaving! LOL
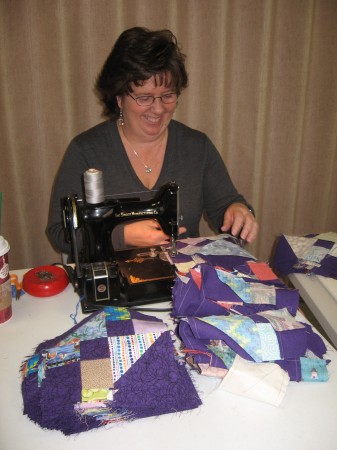
Cathy's beautiful Jacob's Ladder
I am sure they had a lot more fun after Catherine and I left for a FAIRY PANELS EMBELLISHMENT CLASS that Catherine was teaching at Quilting Adventure.













Thanks soooooooooooooooooo much to Sheddy and Shirley for highlighting the faux applique process, thought for sure I would forget that one, but nope, we have our very own stop shot photography tutorial!!!!!!!!!!!! As always, SAO rocks!!!!!!!!!!!!!!!!!!!!!!!!!!! Sorry we had to cut the stay short, just a busy silly time o’ year ya’ know???????